From OR Sketching to Surgical Illustration
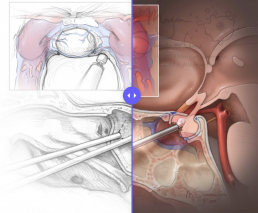
This mock journal cover illustration describes two critical steps in an endonasal approach to remove a pituitary microadenoma. It was completed for our surgical illustration course, in which we observe and sketch procedures in the operating room, describe the surgical steps with a series of sketches, and complete one illustration to represent an example of the finished style.
In this post, I’ll go through this process, from OR sketches to completed illustration.
Procedural sketches in the OR
For these sketches, we try to keenly observe and capture every detail seen and heard during the procedure. We sketch the procedural steps alongside instruments, suture patterns, tissue textures and removed specimens.
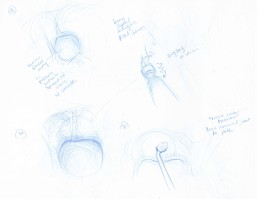
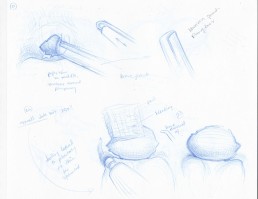
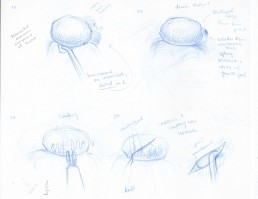
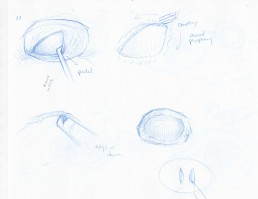
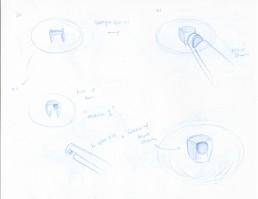
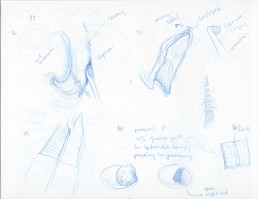
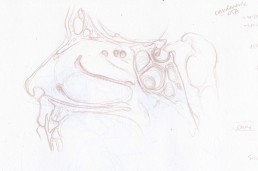
Laying out sketches in an intended format
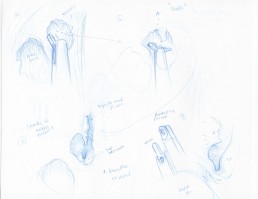
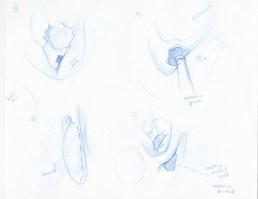
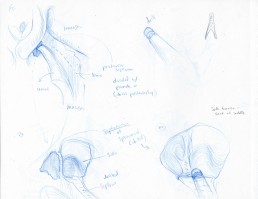
Using the patient’s MRI and CT scans to understand the specific nasal anatomy and tumor tissue seen during the surgery, I created a series of sketches that depicted each step of the procedure.
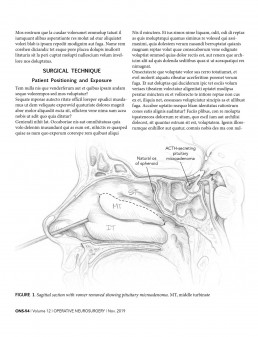
I then arranged these sketches in a journal article format for the Journal of Neurosurgery. This gives a sense of how the final illustrations would look if they were to be published. I included labels on my sketches for easier understanding, and placeholder text represents the accompanying text that would be present in an actual published journal article.
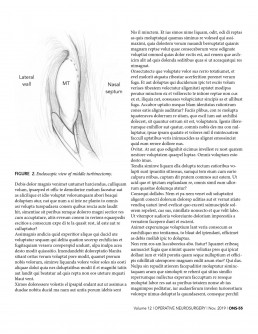
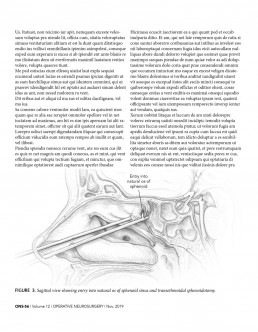
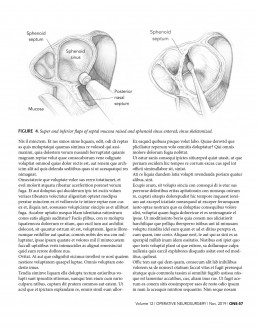
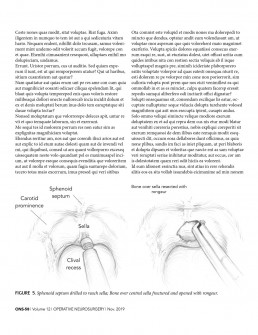
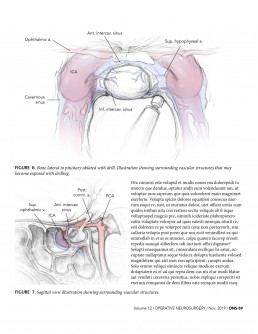
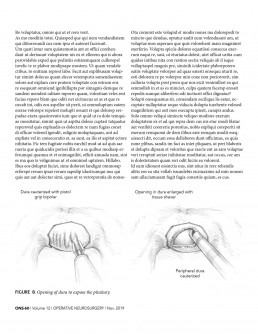
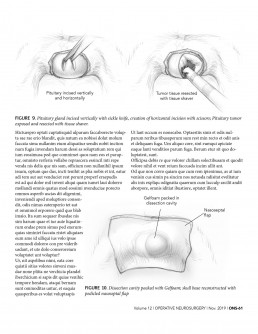
Creating the mock journal cover illustration
For the mock journal cover, I combined sketches of the important surgical steps that avoid critical vascular structures.
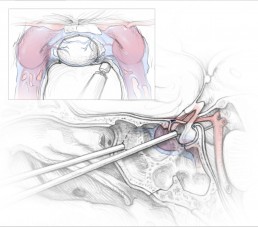
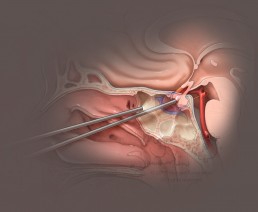
The inset, shown from the surgeon’s endoscopic view, describes exposing the pituitary gland by drilling the bone lateral to the pituitary. The underlying carotid arteries, cavernous sinuses, and intercavernous sinuses are shown. The main image shows a sagittal view of the tumor removal step and the proximity of the vascular structures. The intercavernous sinuses are seen in cross section.
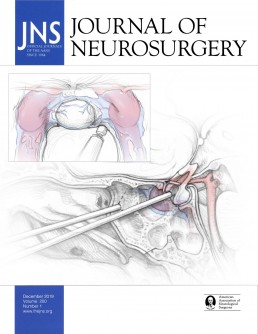
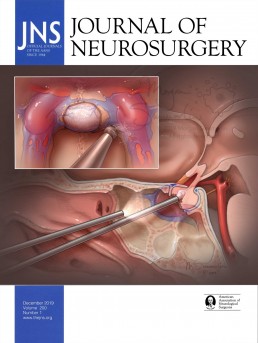
The completed mock cover illustration for the Journal of Neurosurgery, compared with the original sketch.
DICOM Data Segmentation for Customized Illustration References
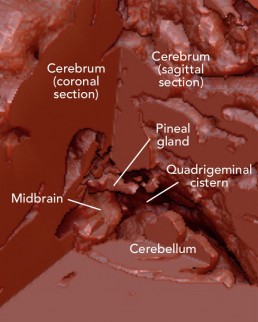
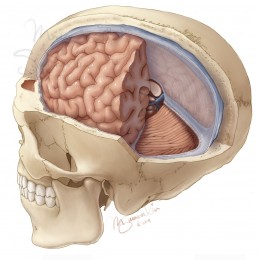
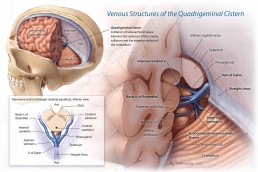
This neuroanatomical illustration explains the complex venous pathways that travel through the quadrigeminal cistern, a dilation of subarachnoid space between the midbrain, cerebral hemispheres, and cerebellum.
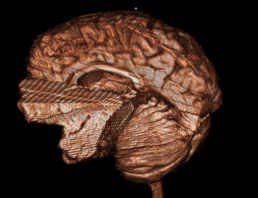
To accurately depict the intricate neuroanatomy in this region, I reconstructed anonymized patient CT and MRI scans to create 3D models that I referenced for accurate size and structure relationships.
Continue reading below to learn more about how I created these reference models from DICOM data, and how I translated these models to a rendered illustration.
Segmenting DICOM data in OsiriX and importing to Zbrush
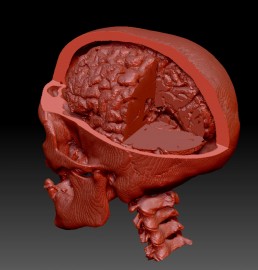
Using the DICOM segmentation features of OsiriX software, I isolated the soft tissue structures of the brain from an anonymized MRI scan and the skull from a CT scan of another patient. I generated these data sets as 3D models using the 16-bit threshold editor and explored the anatomy with various slices through the models (below).
After exporting the whole models and importing them to Zbrush, I aligned them as if they had existed in the same patient. I then used a live Boolean subtraction to create a clean window in the models and visualize the internal structures of the quadrigeminal cistern.
Beginning the Illustration
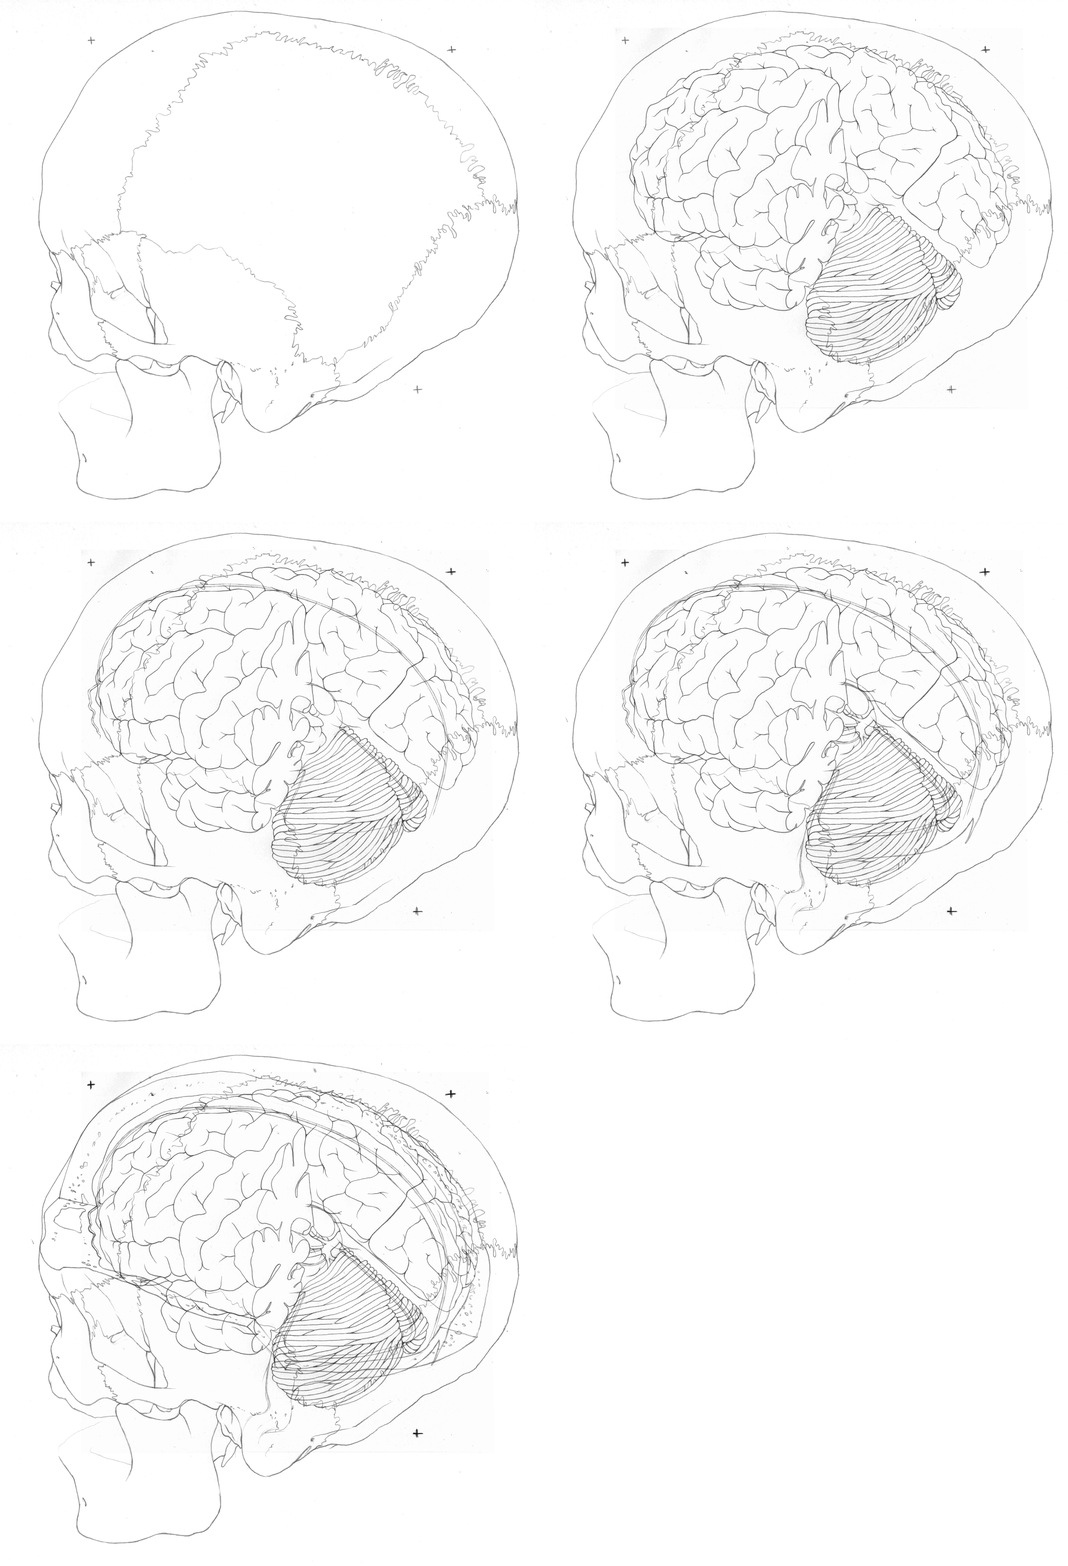
Referencing my combined model in an oblique view as well as the original 3D reconstructed patient models and neuroanatomy reference books, I created a clean outline to preserve anatomical relationships and detail in my final illustration. This was achieved by creating separate traditional pencil outlines for each structure (skull, cerebrum & cerebellum, cut edge of the dura, venous structures, and the cut edge of the cranium) and aligning them in Adobe Photoshop.
Traditional Sculpture for Illustration References
Obtaining reference specimens
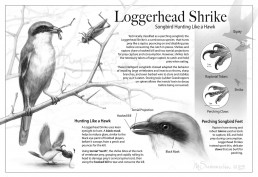
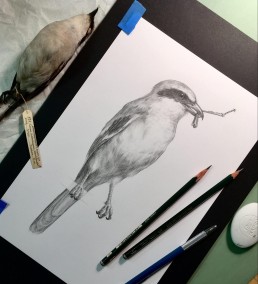
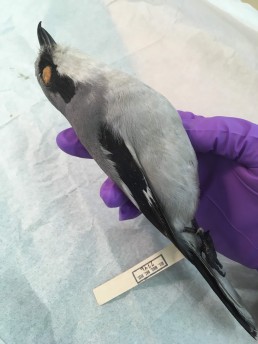
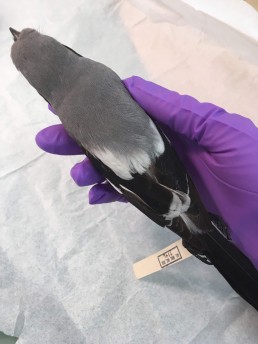
I was fortunate to have worked from a preserved Loggerhead Shrike skin, on loan from Dr. Jean Woods at the Delaware Museum of Natural History’s Bird Collection. Working from a real specimen is invaluable in illustration—being able to study the details and take measurements of a subject can help with creating an accurate and lifelike illustration.
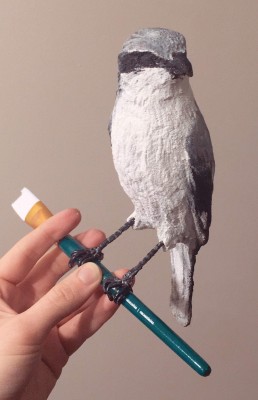
Creating the scale model
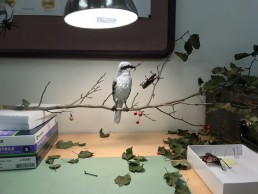
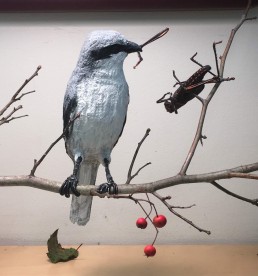
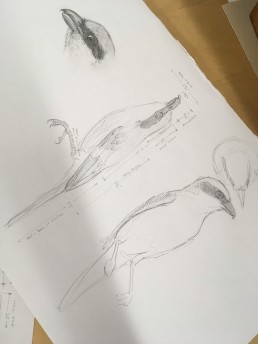
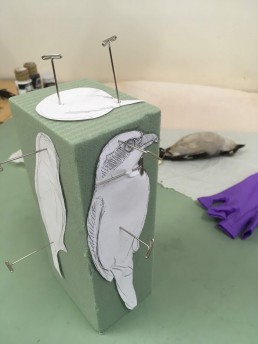
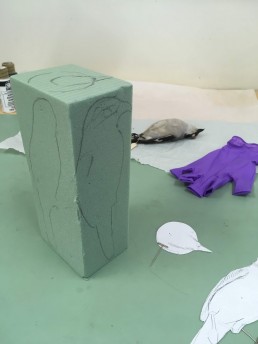
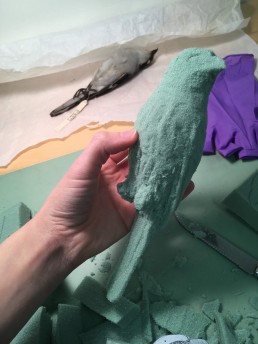
I started creating my maquette by first taking measurements of the shrike skin to ensure that the final model will be life-size. Using these measurements and reference photos of perched Loggerhead Shrikes, I sketched a perched shrike in my desired pose from three views: the top, front, and side. I attached these sketches to a floral foam block and began forming the shrike using subtractive sculpture.
Assembling the action scene
Loggerhead Shrikes frequently visit trees with sharp thorns, such as the Hawthorn tree, to consume their prey. My professor kindly cut and donated a handful of branches from the Hawthorn tree in his yard.
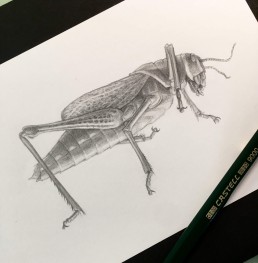
I also gathered preserved Lubber Grasshoppers to reference. The first I purchased and pierced on the Hawthorn thorn, and the other, which I used to study features such as tarsal claws and wing venation, was loaned to me by Dr. Mike Ferro at the Clemson University Arthropod Collection (CUAC).
I referenced my maquette and the set up scene for lighting, overall proportions, and spatial relationships. The benefit of working from real specimens is that I was also able to study and incorporate minute details, like feather textures and patterns and important diagnostic features.
